Seeds of inspiration come from many places, people and times in your life. This particular project was a trinity of influences, fused into one.
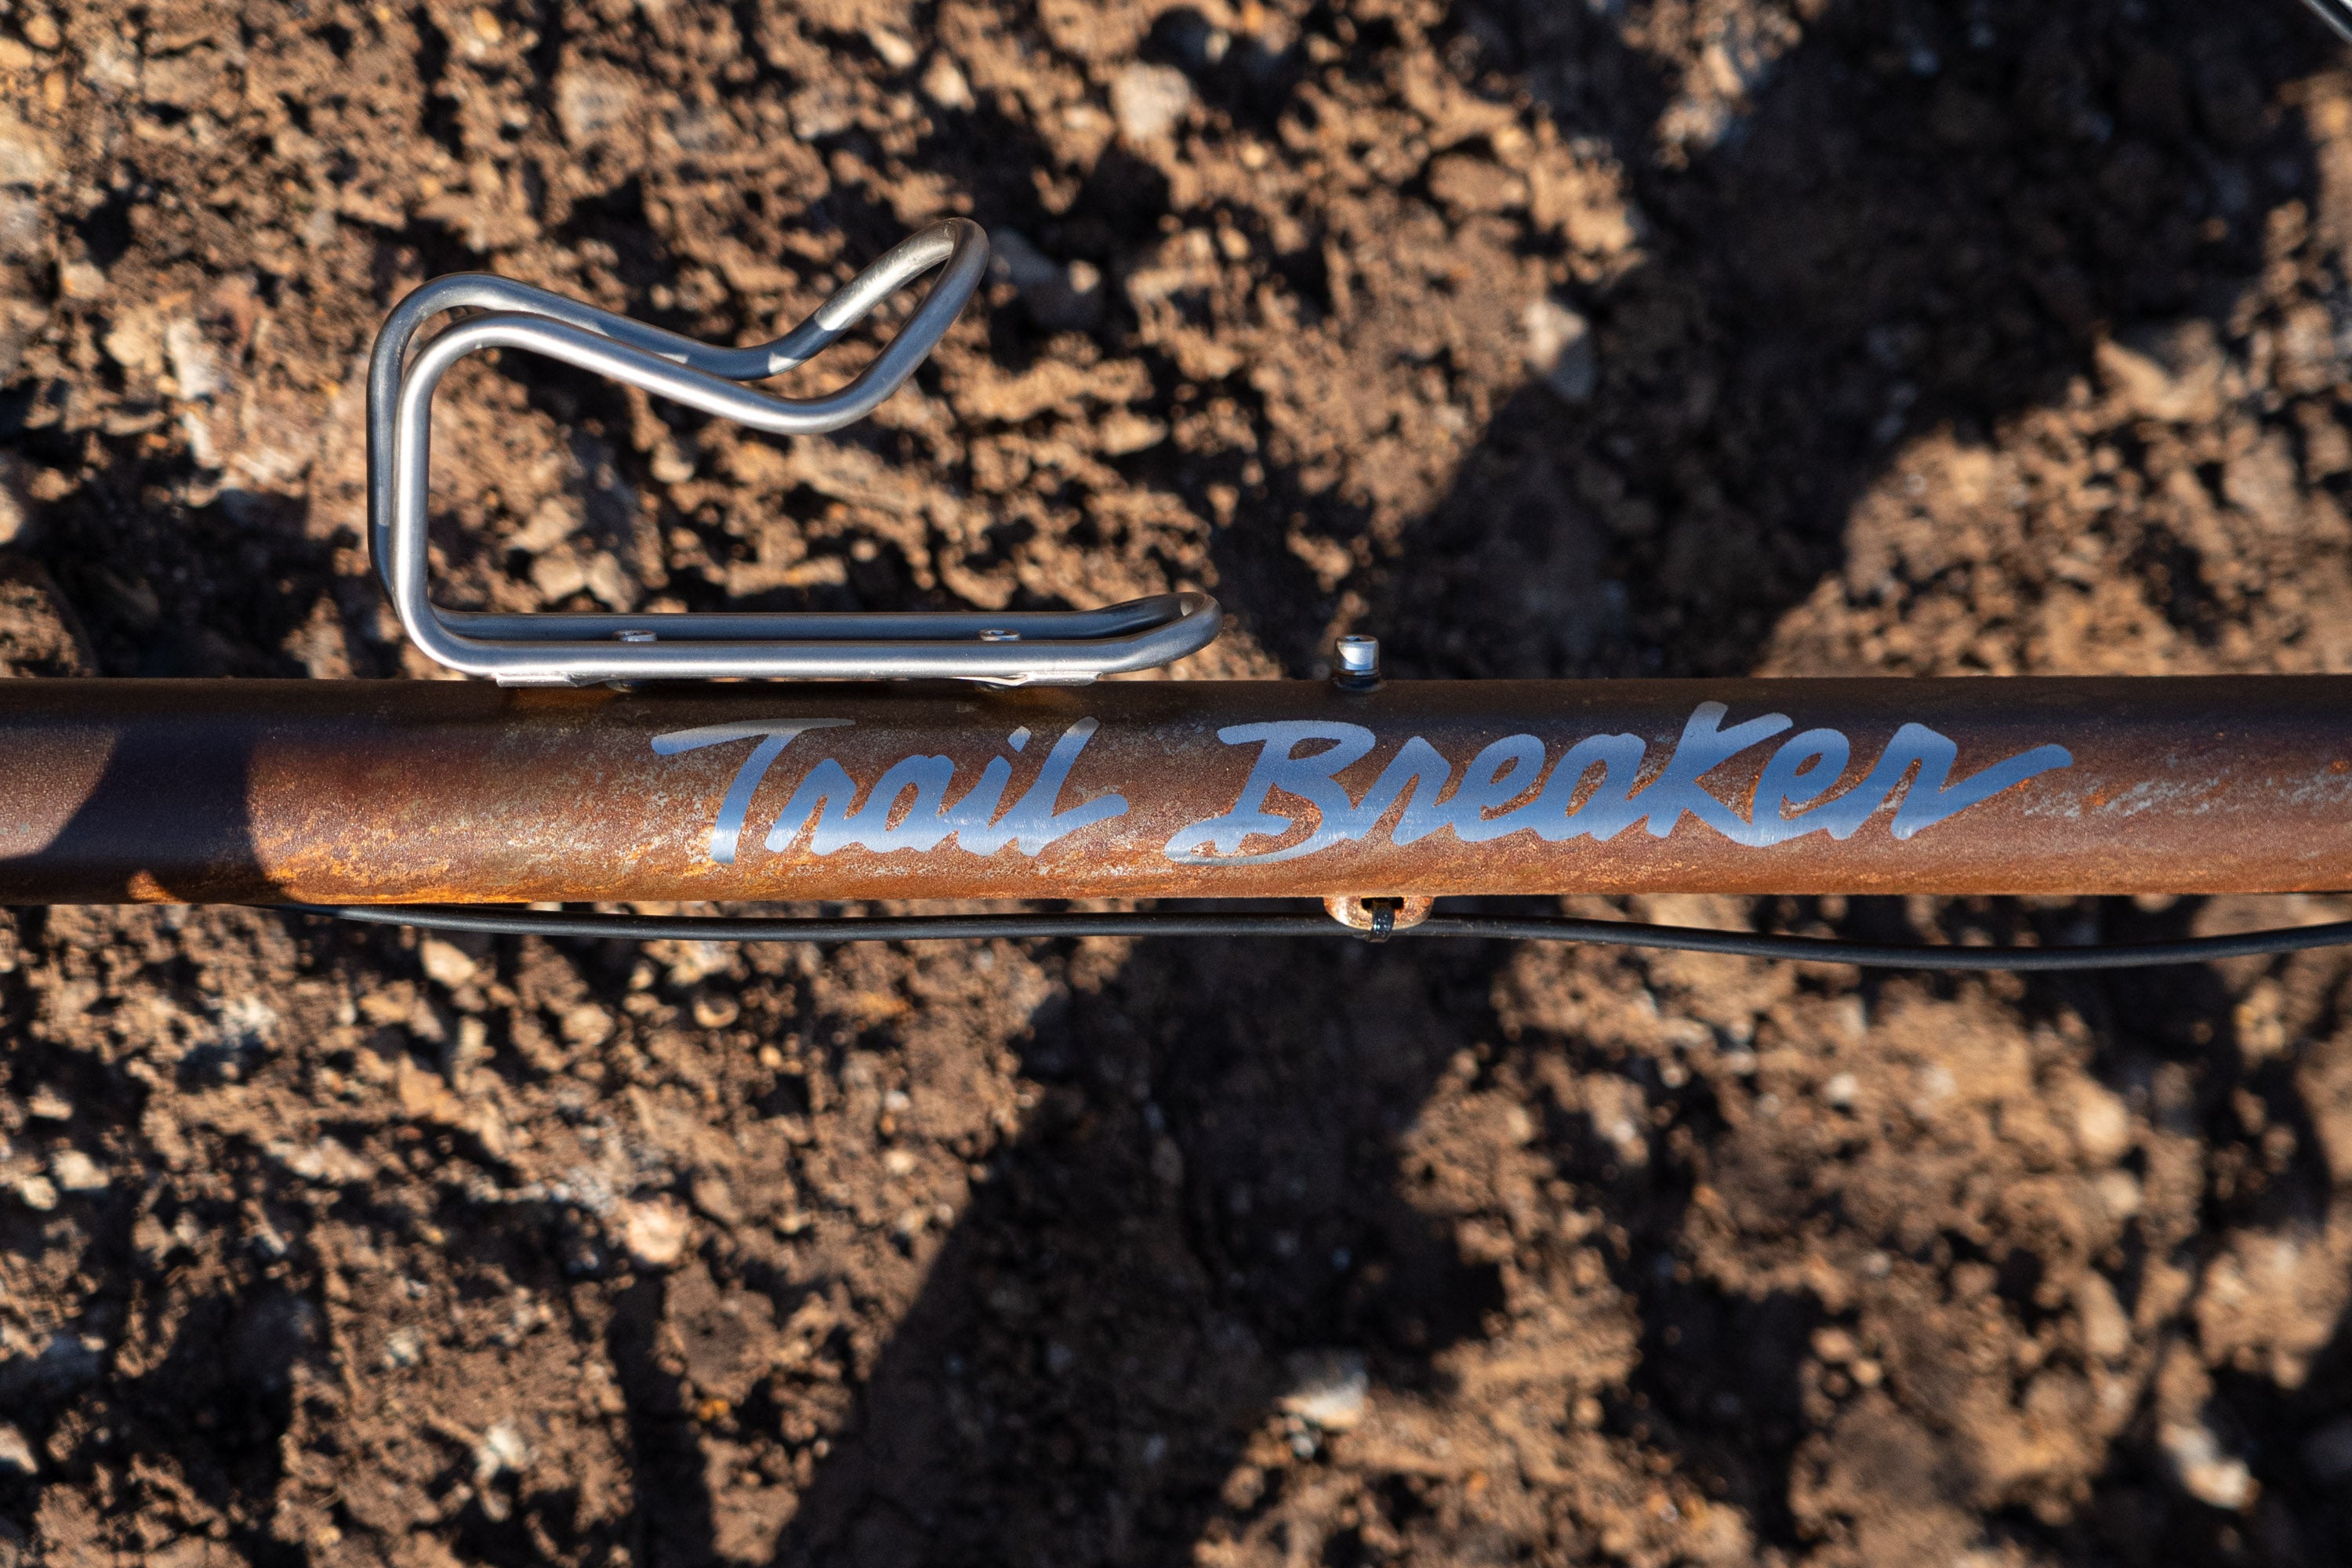
The first was an ode to my first steel mountain bike - The Shogun ‘Trail Breaker’. The bike was popular in Australia, being one of few complete bikes in the emerging recreation space. Mine was an absolute klunker in hindsight - even if it did have ‘alloy’ rims and bars, Shimano S.I.S. gears, canti lever brakes and a Tioga elastomer fork. Only as an adult would I realise the logotype was a straight rip of the Specialized Stump Jumper - which only makes me love it more.
The second influence was Sacha White’s prototype Urban Racer which he brought to Australia for the SV fit tour nearly a decade ago. It was a bare metal frame that was allowed to corrode slowly with each passing rain storm hastening the process.

I’d attempted this previously on a steel frame with success but I wanted a rusted looking frame - without having to wait years.
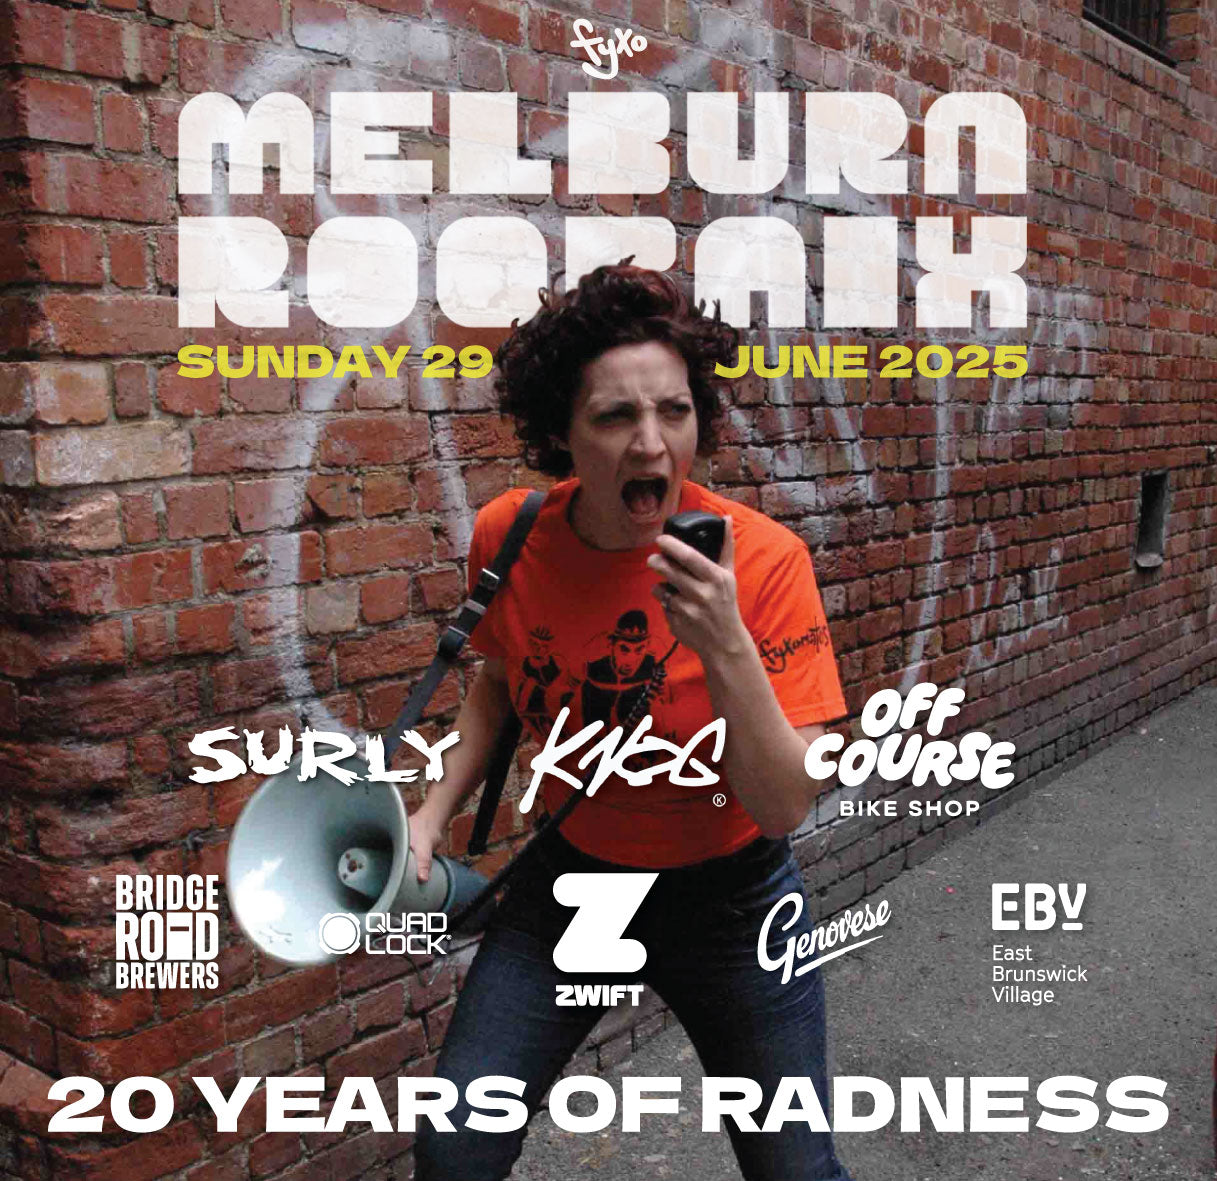
The third influence was the theme for this year’s Melburn Roobaix - MAD MAX. Perhaps not at Star Wars cult level, but it holds a special place in my heart as much of the first movie was shot in familiar Melbourne locations, one scene shot on a road I passed every day as a kid on the way to school. George Miller’s universe of films, with crazed cars, costumes, and style seemed the perfect landscape for creativity.

After selling my Surly ‘Drop Monkey’ 27.5er to get something with room for bigger tyres, the obvious choice was the Surly Krampus 29+. The Krampus is a mythical beast which terrorises children - so who better than Lord Humungus to adorn the seat tube. He will allow ‘safe passage through the wasteland’ - if you give him all the fuel.
Make it your own!
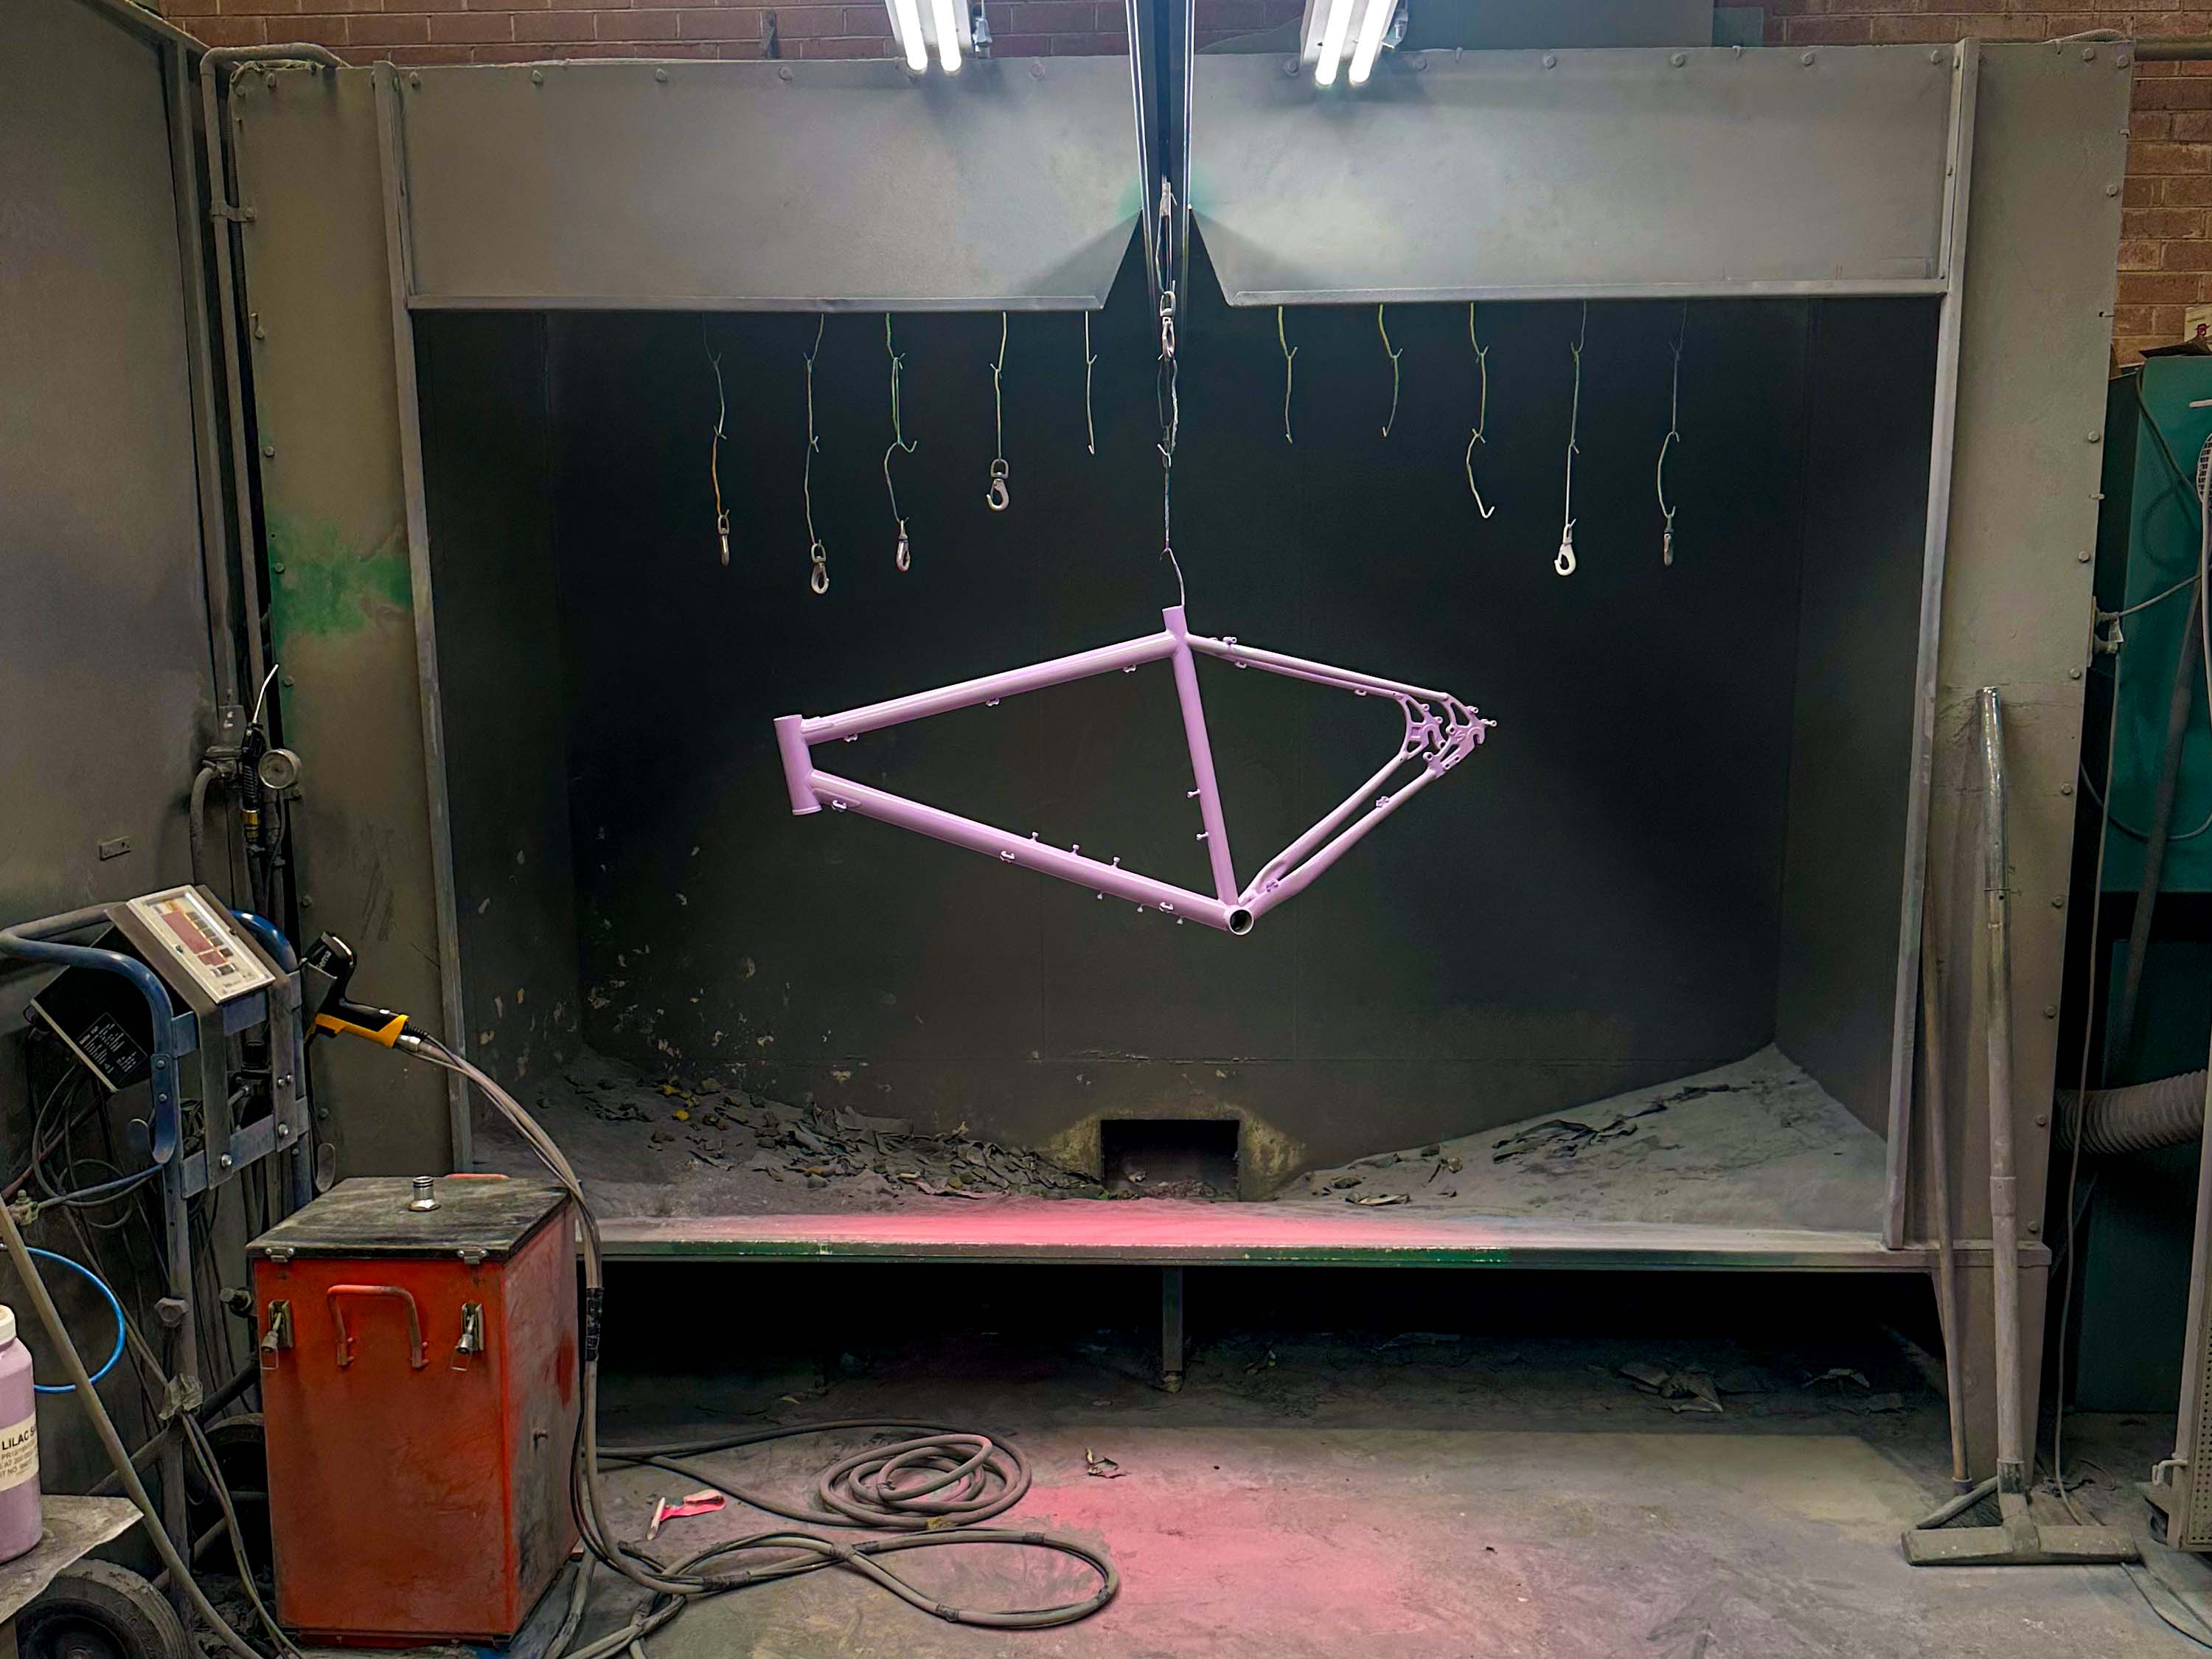
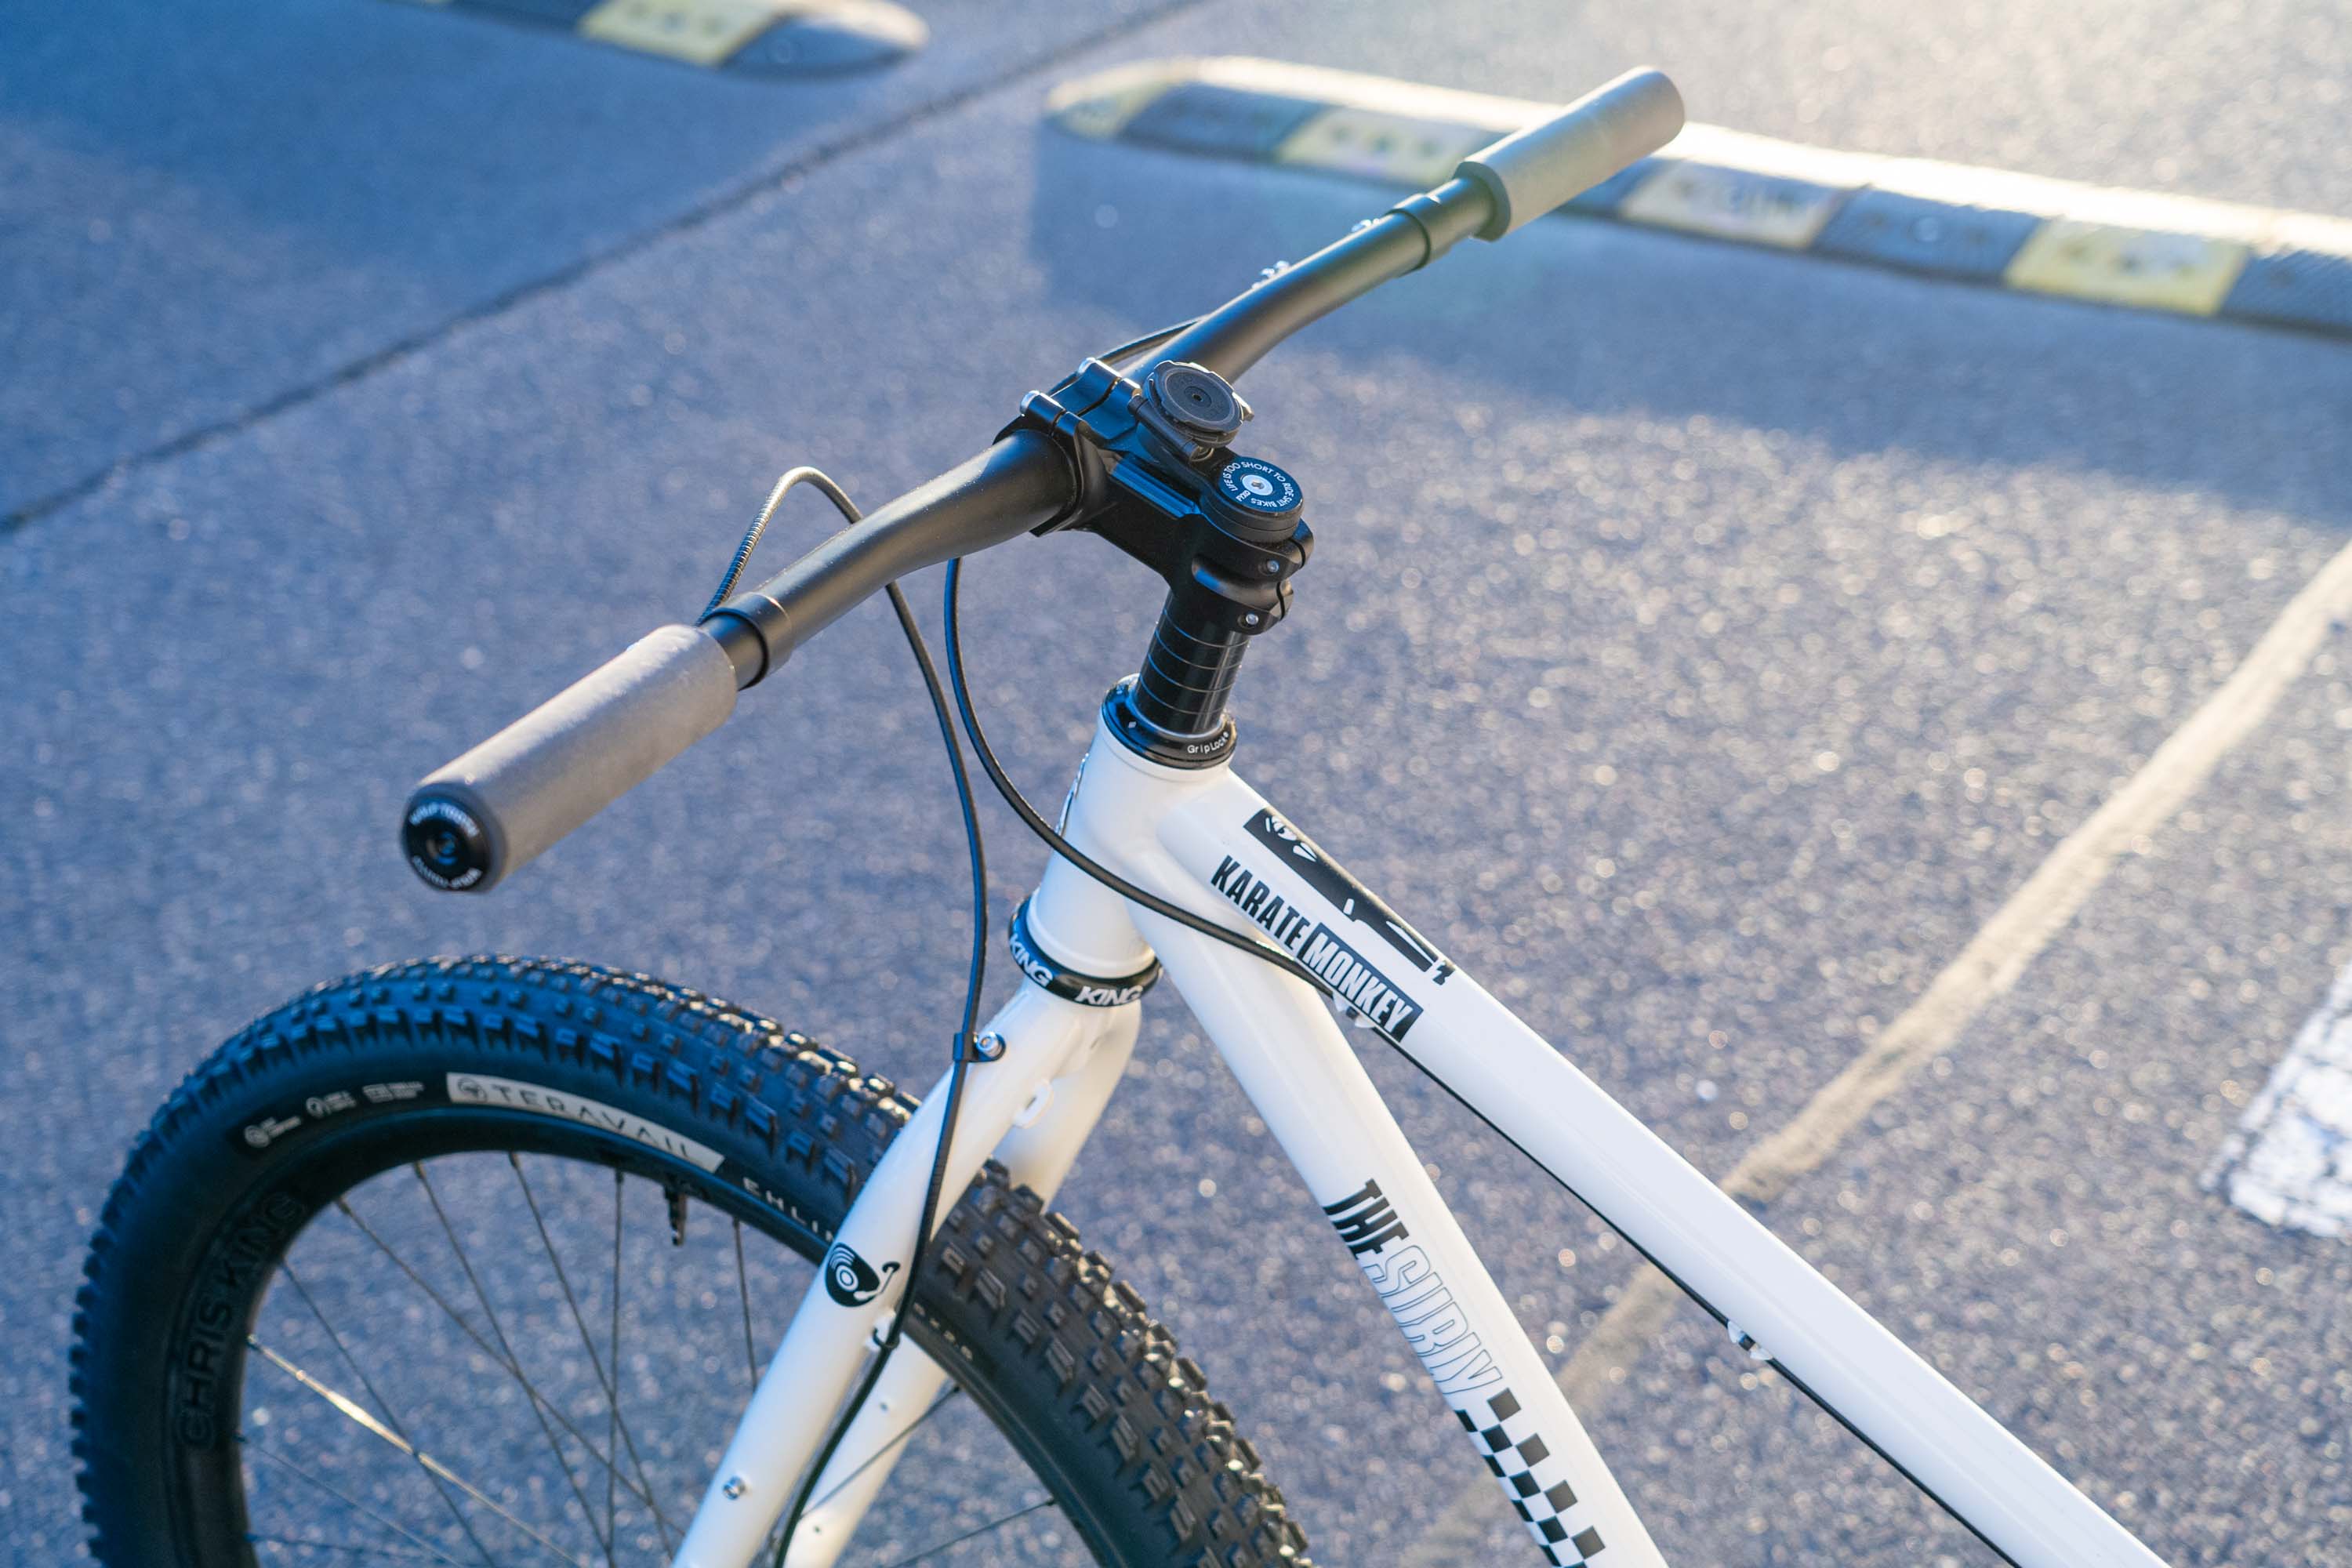
The stock Krampus comes in a few colours, but what better colour to strip than ‘First Loser Silver’. The plan was to keep it stock-ish without going over the top.

I took a ‘a piece from here and a piece from there’ for the components - Forks I’d kept from the last bike, a SRAM EX1 8 speed groupset that was going to be for an ebike conversion, a Thomson stem and I always run a Brooks Cambium chair.
I searched the internet for ‘how to rust steel’ and found THIS article on producing a finish in minutes - not years.
First step was to remove the powder coat. You can use various methods: stripping, sanding and I opted for media blasting. Blast Off in West Heidelberg (Thanks Peter!) turned the frame around in a week for just $100. This saved me a heap of time, mess and given how tough the powder coat is, saved many layers of my own skin.
Next was to polish the sections of the frame where artwork was going to be applied. I did the initial pass using a 3M adapter for my cordless drill with a 250 grit sandpaper. Then individual sheets of 400/600/800/1200 grit for the shinier sections. Cut your paper into strips to get the most of them.

After some playing around on the computer machine, I cut vinyl masks on my plotter and applied them to the frame. If you don’t have those tools at your disposal - draw a design on vinyl and cut it with a scalpel!


I was confident about all the above as they were tasks I’ve done many times before - this rust game was very new.
The process calls for vinegar, hydrogen peroxide (3%), and salt. That’s it. I’d be surprised if you don’t already have all three at home - though maybe not enough to perform this operation. All are easily sourced and relatively cheap.

I used 200ml Hydrogen peroxide, equal parts vinegar and a ¼ cup of salt in one separate spray bottle - mixed until fully dissolved. It calls for a separate spray bottle of Hydrogen peroxide to use after the initial spray.
Safety First - gloves, and glasses!
It is magical how fast the corrosion effect occurs in front of your eyes. I did an inital coat of the frame with the mixed solution, then gave most of the frame a proper salt crust. Like feeding the chooks - throw it on wildly for a natural looking effect. While you marvel, spray sections with hydrogen peroxide to increase the rate of reaction.
There’s a video on my instagram (@fyxo) of the process happening before your very eyes.


That is it!
Wait for the frame to dry overnight or use a heat gun if you have one. Dust off the residual salt and you have a very rusty looking frame.
Once you’re happy with the amount of rust comes vinyl mask removal. More enjoyable than licking the spoon in a bowl of cake mix, revealing what’s underneath is always a mystery. I wasn’t sure if the solution would leech under the vinyl, but there was only one was to find out - and gave this critical and hugely satisfying task to my daughter.
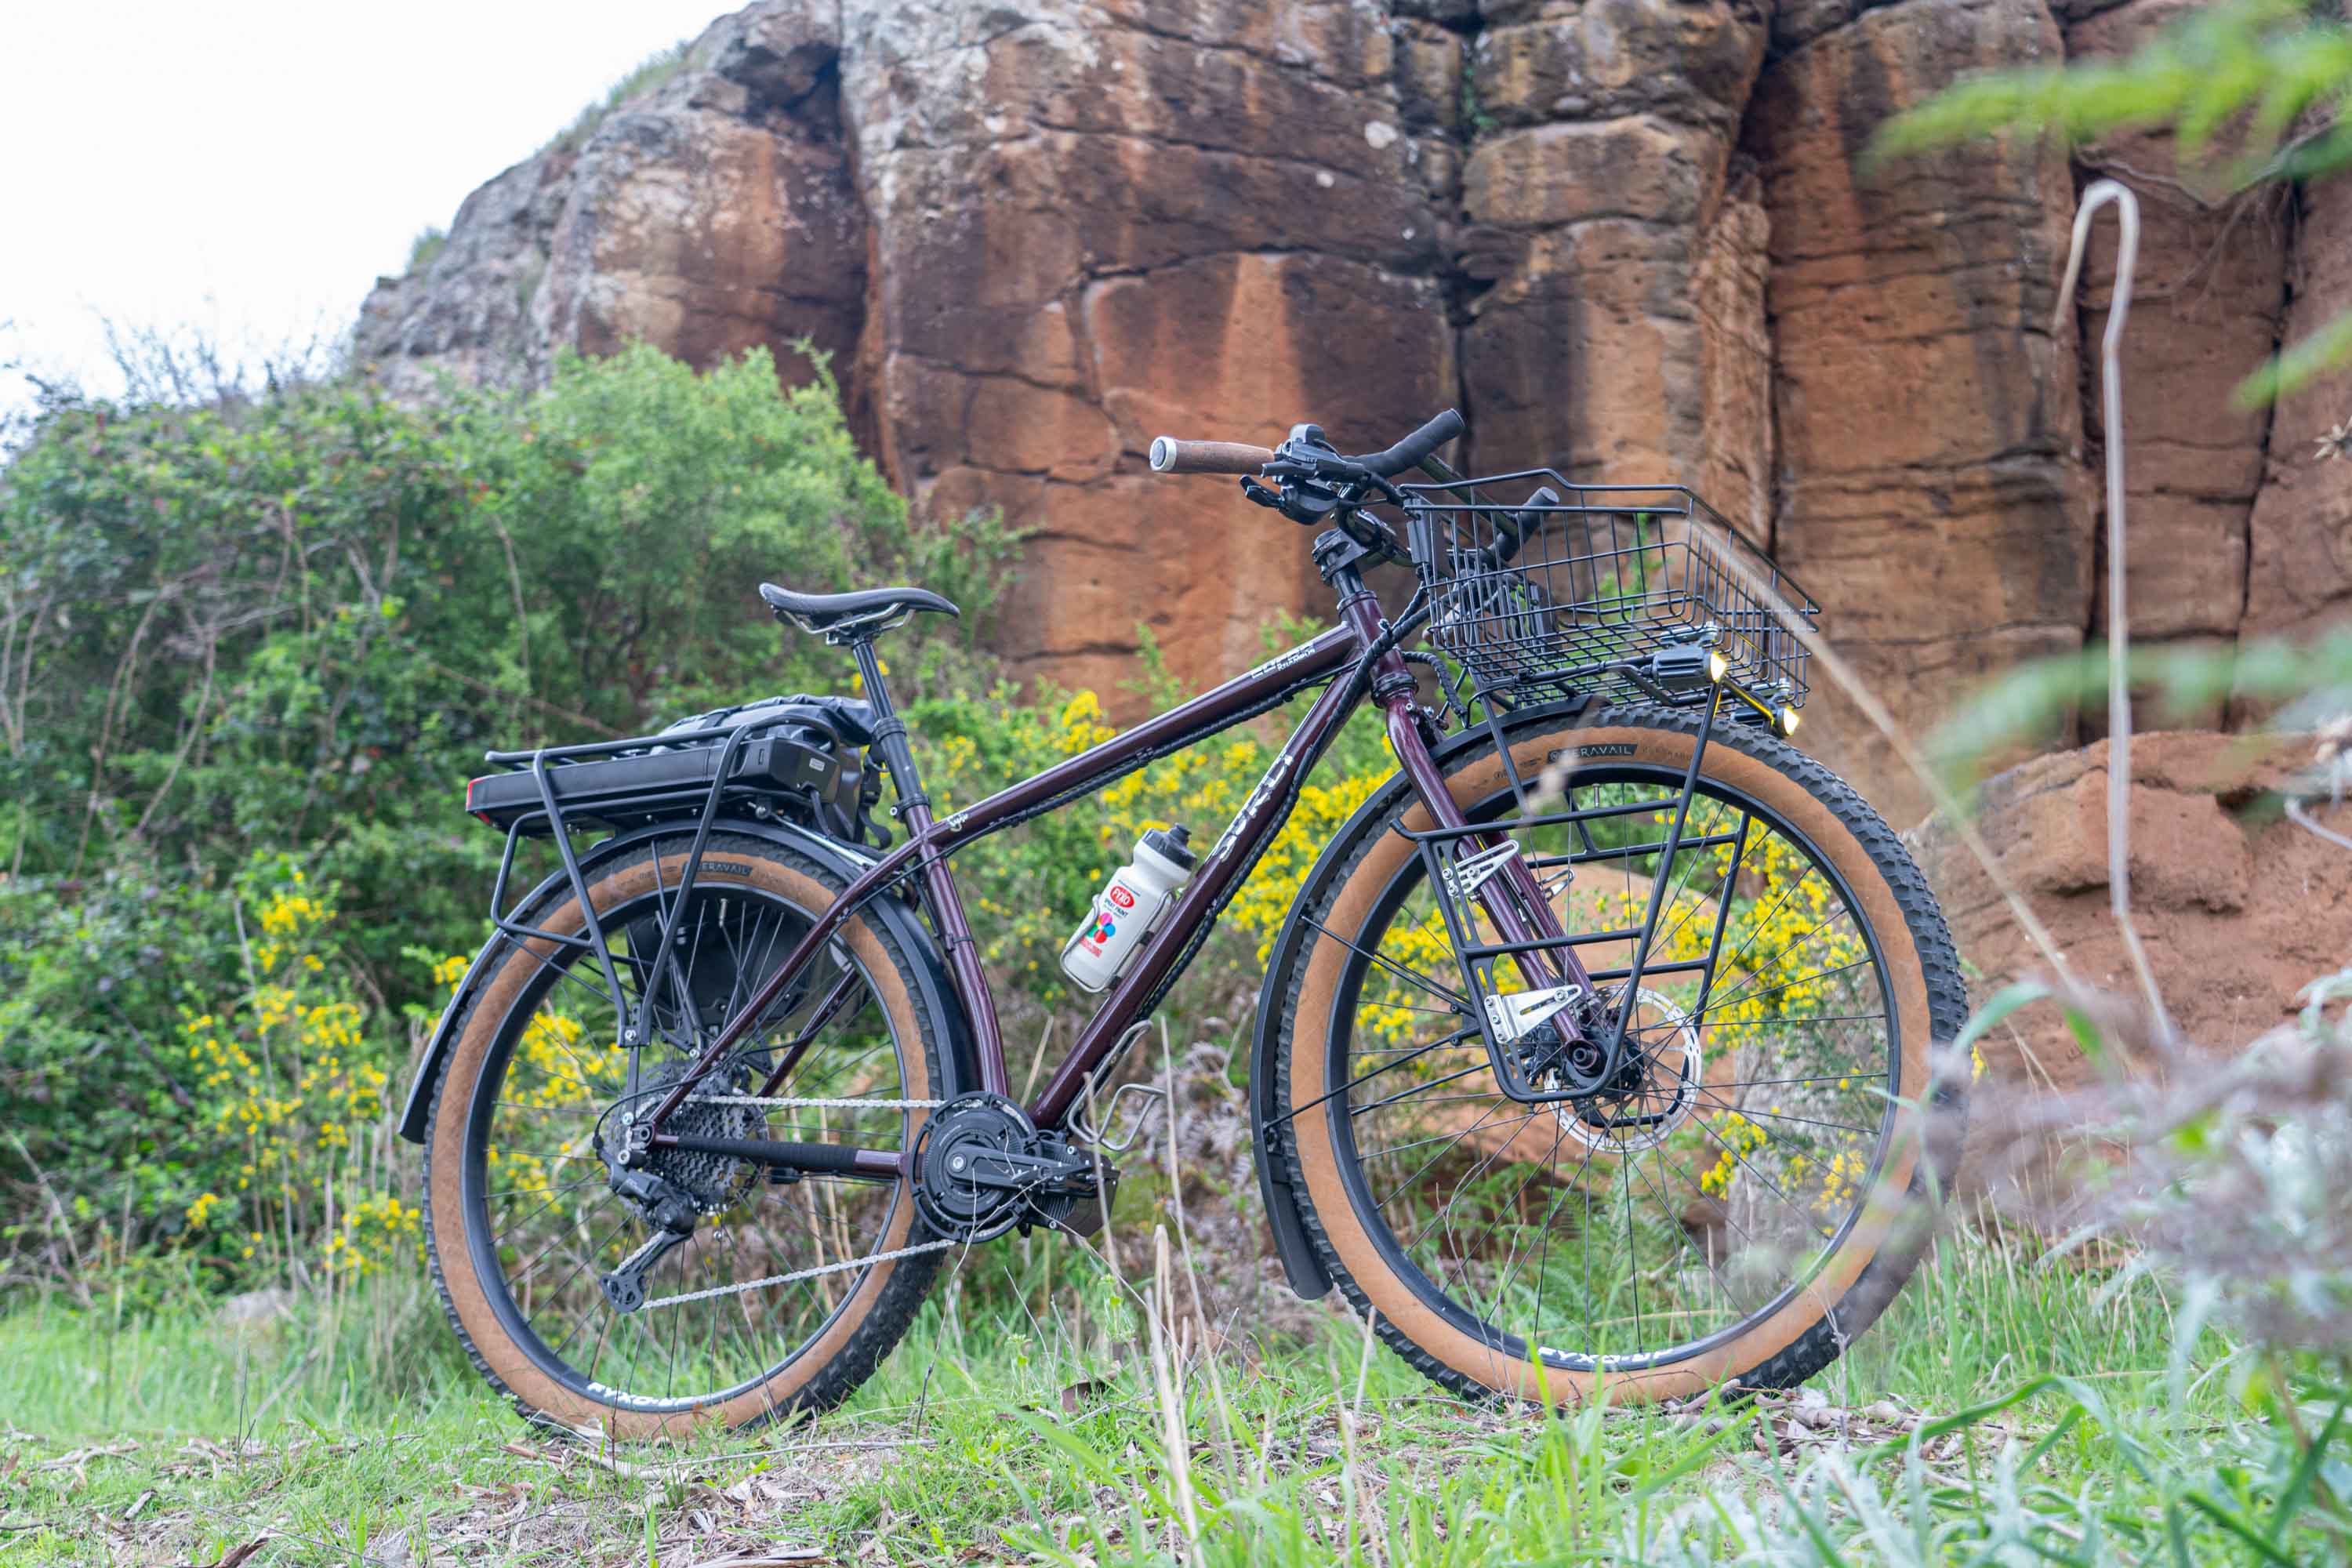
To stop further corrosion, and make the bike practical to use, a clear coat finish is needed. I used two coats of Dulux Matt Clear from Hammerbarn. This gives the overall appearance a much deeper, richer colour and won’t leave a residue of rust all over your trail pants.
It looked awesome with sharp defined edges, better than I’d hoped.


Head over to my instagram from the video of the process happening before your very eyes.
See you on the trails!
FRAME - Surly 'Trail Breaker' (Krampus) - XL
FORK - Rock Shox YIKES (Recon)
HEADSET - Cane Creek headset
STEM - Thomson X4 stem 50mm
BAR - Stock
GRIPS - Stock
WHEELS - Stock (decals removed)
SADDLE - Brooks Cambium saddle
DERAILLEUR - SRAM EX1
SHIFTER - SRAM EX1
DROPPER - EXA 170mm
CASSETTE - ZTTO 8s cassette 11-50
CRANKS - SRAM GX crankset 32t
BOTTOM BRACKET - DUB 73mm
BRAKES - Shimano MT420 Brakes
TYRES - Stock
BIDON - Silca
PEDALS - Wolf Tooth Waveform Pedals

First time for everything.
2024 Melburn Roobaix - Event Report